Online teaching system
Programmed especially for workshops! No installation needed, use recommended browsers (Chrome, Mozilla Firefox or Safari).

Room for tests
Enter the online room to test system features
- Check your microphone
- Allow your browser to use microphone
- Check and test your speakers
- Check features for workshops
- Write something on Public Chat
- Write something in Notes and export it

Our advantages
Creating a lesson in a few steps
Check the possibilities of NaukaNet!
We will soon publish sample virtual lessons
When you learn to use our program in a few steps, think about your lesson and make the most of it! Create interesting activities, full of interactions.
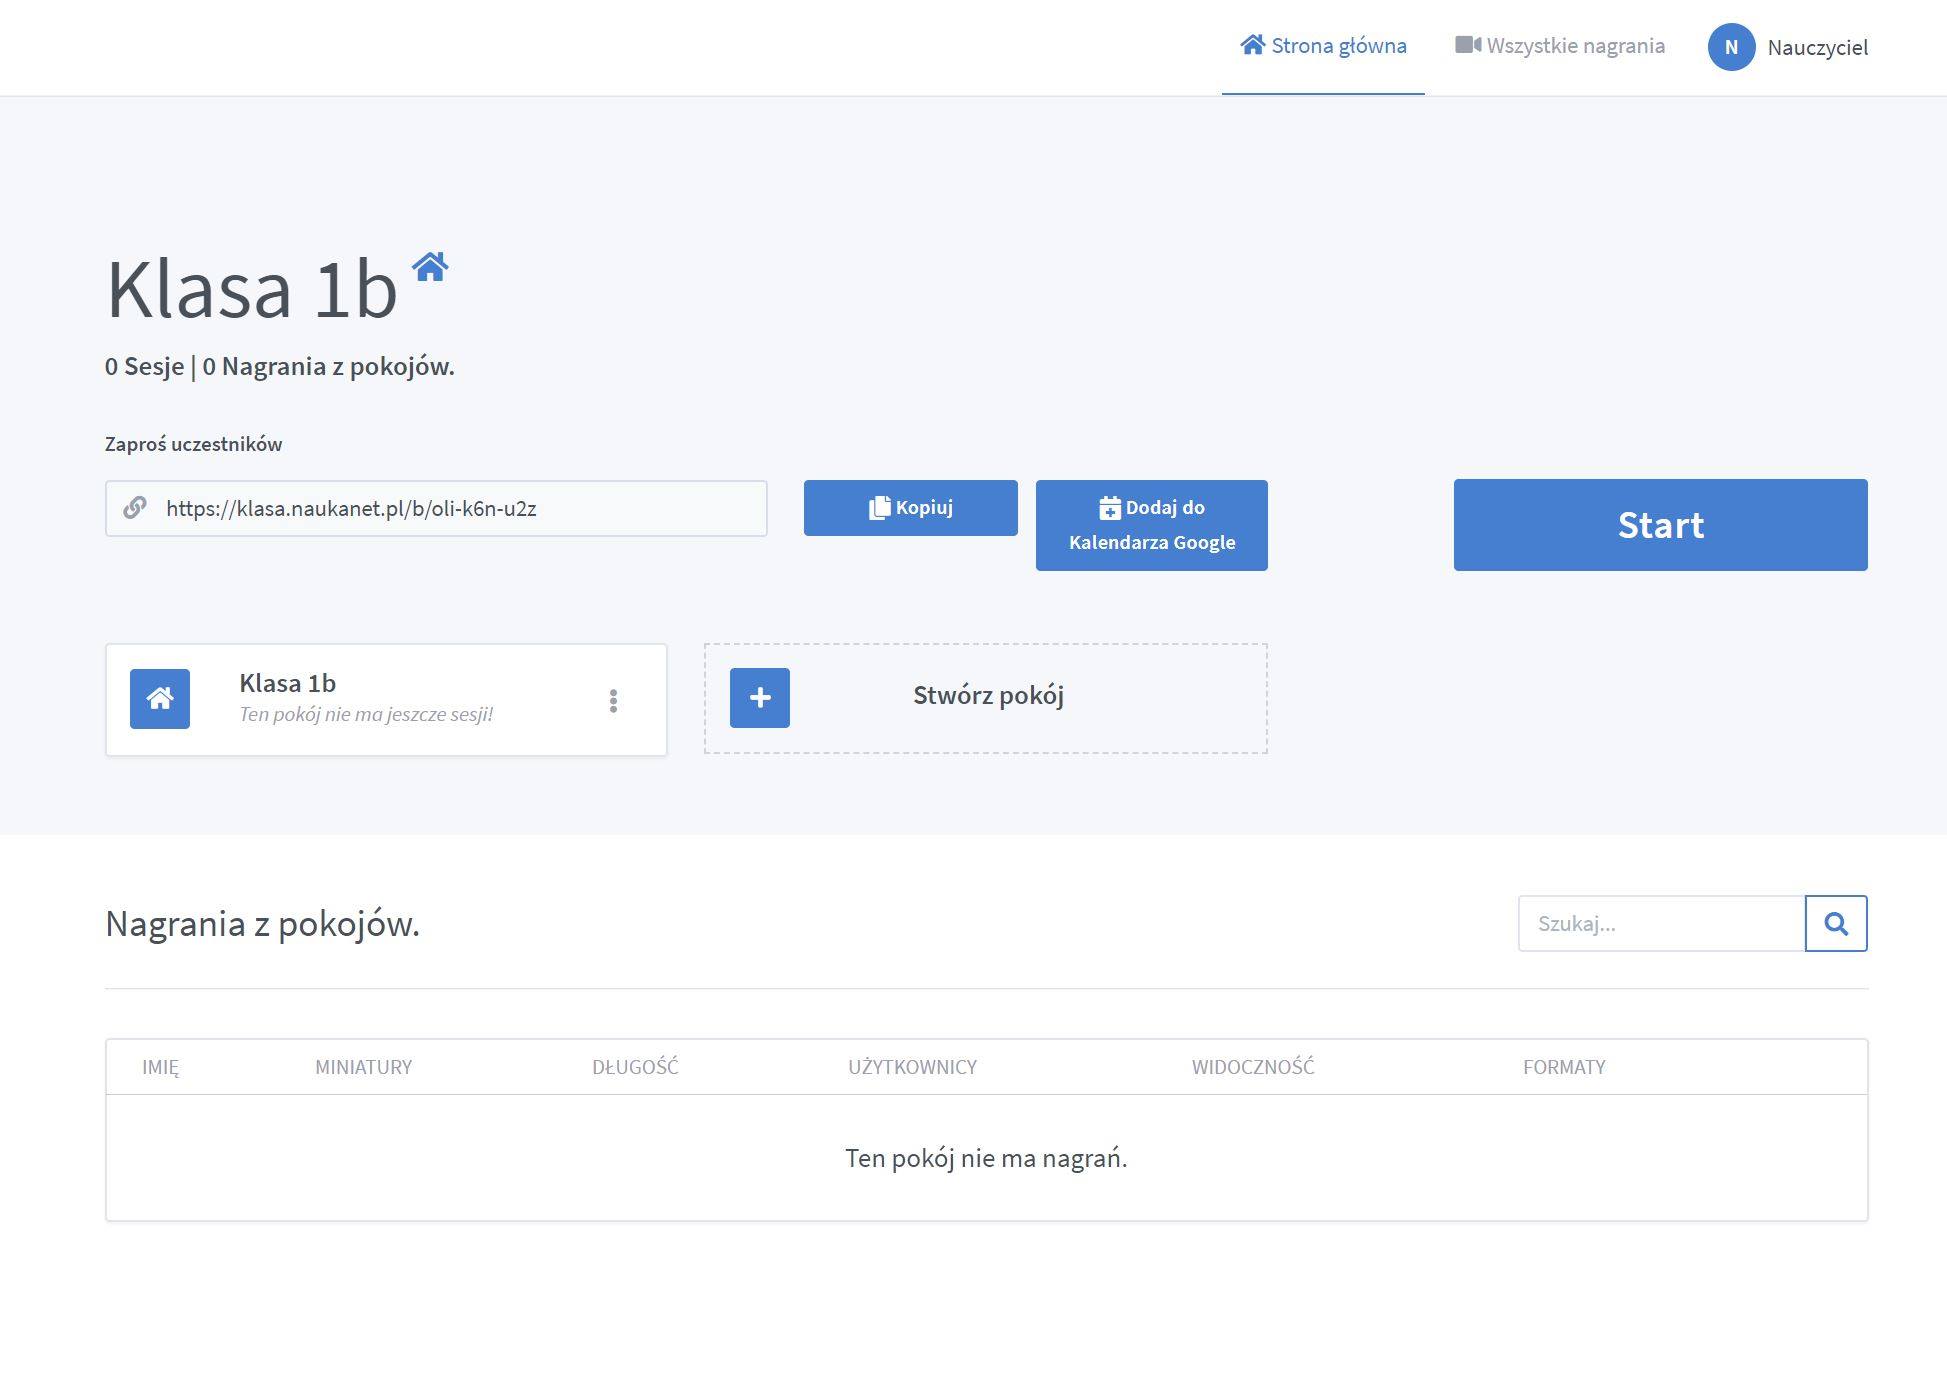
On the right, a snapshot of your class management – create new classes, edit their names, register your lessons
Technical Team
- NaukaNet


View of a lesson
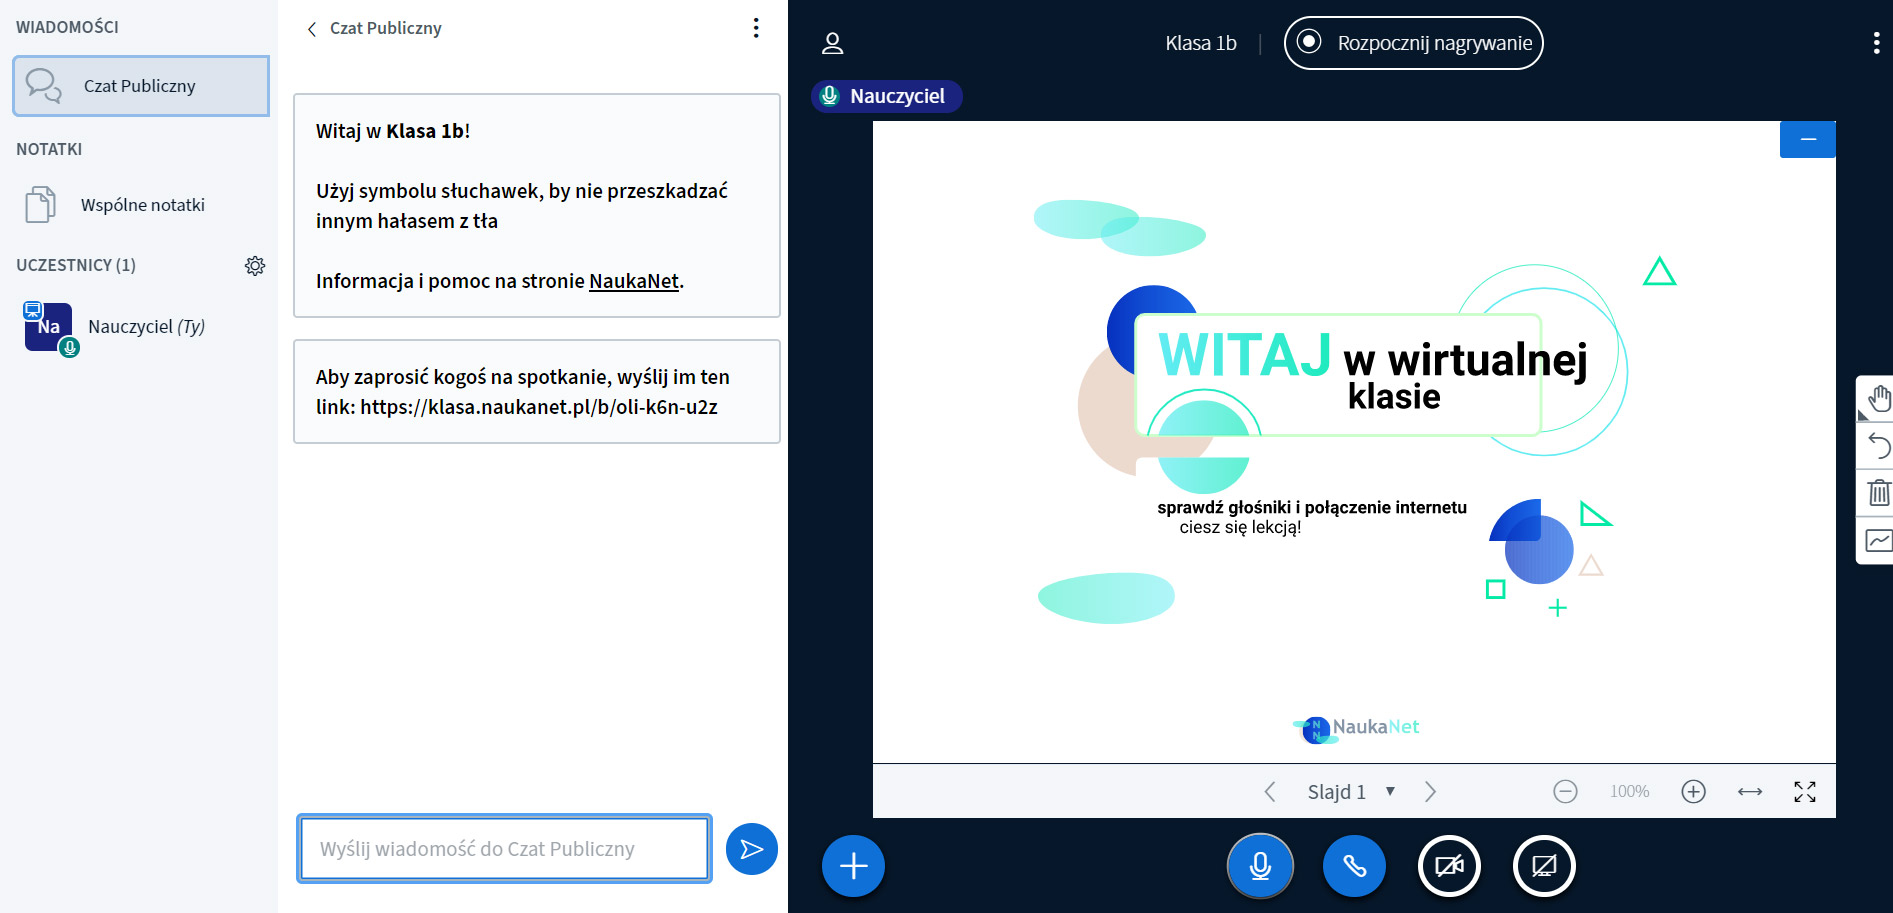
Here you manage students who are online already in your classroom, now you can teach a lesson.
You have full control over the lesson as a teacher, you can mute students and delete notes, erase information from the board – you are the main moderator.
Many additional options will allow you to set and prepare the lesson, even before the lesson starts, to open the textbook visible on the screen or change the language of the lesson.
Technical Team
- NaukaNet
Creative Lesson
Open the handbook, run a card, create an interesting lesson
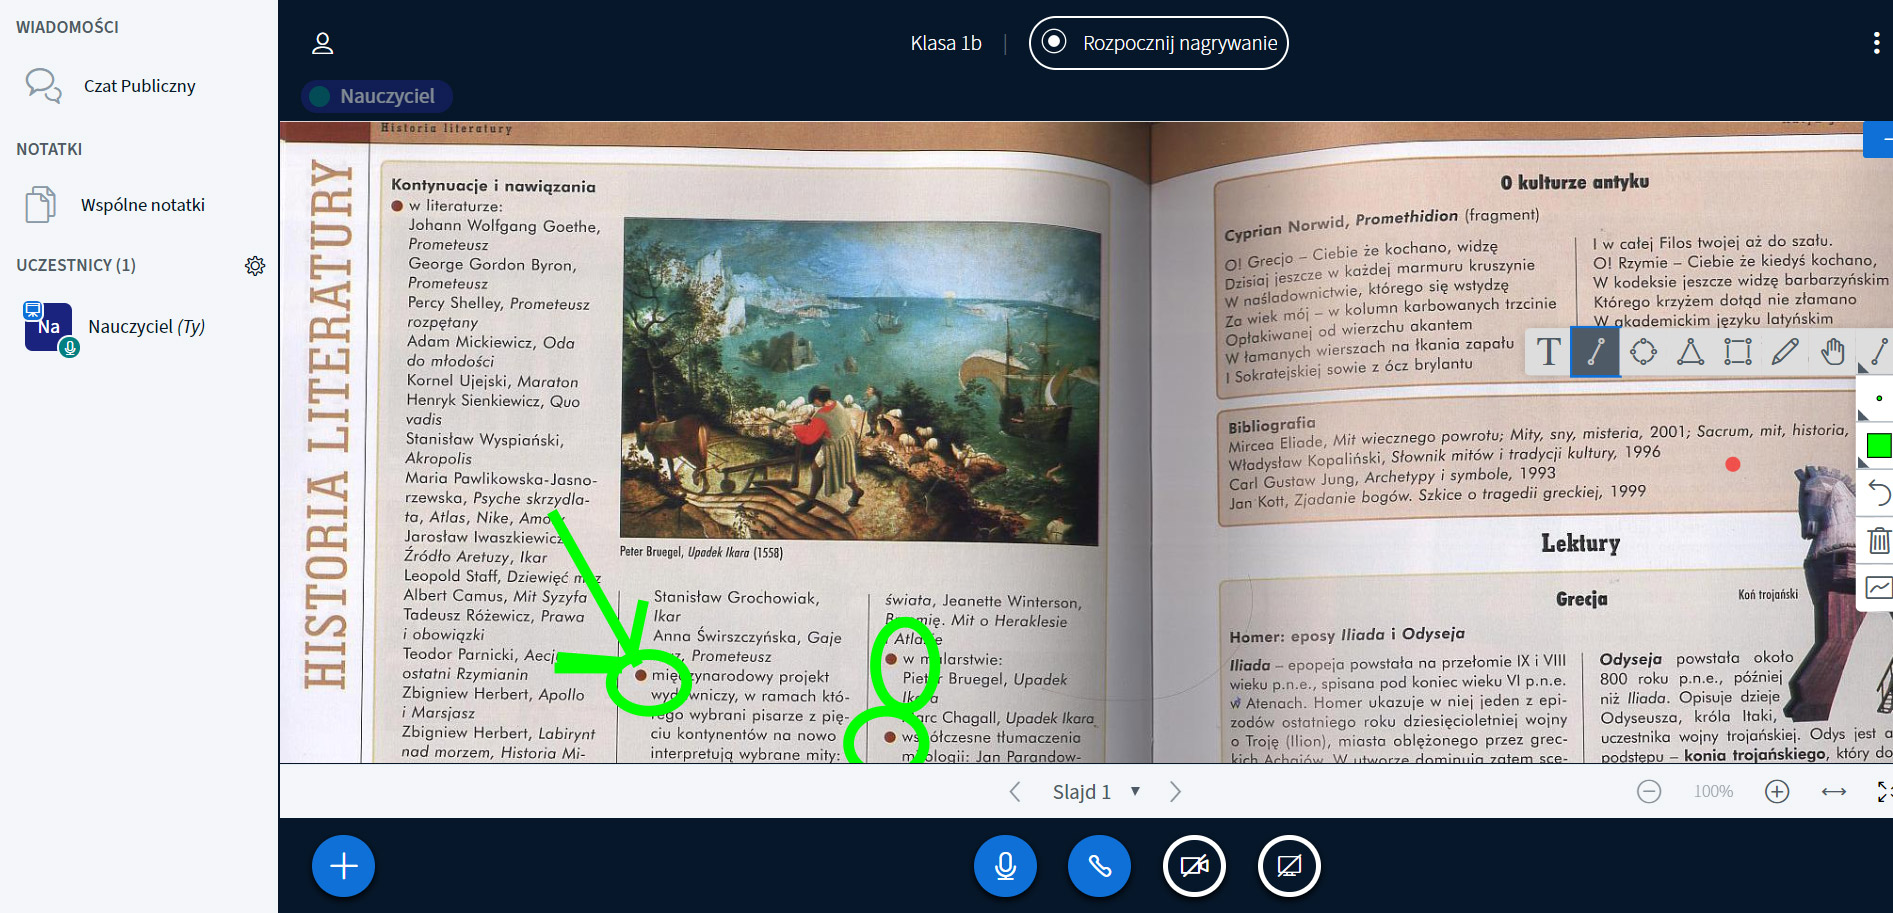
Import a scan of your textbook in .jpg format, or the entire textbook in .pdf format – you can write on it as well as make writing on the textbook available to all students.
Do the job together from the textbook or indicate which job is being done with the option to draw and build shapes.
Technical Team
- NaukaNet

How to start?
Fast & Simple


